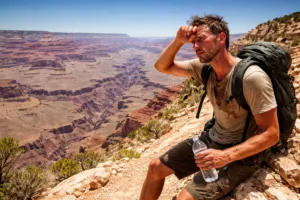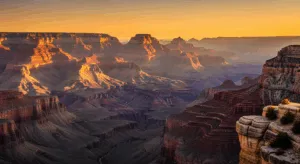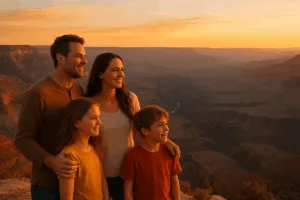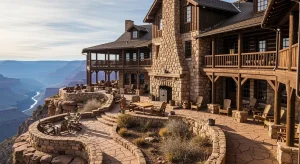
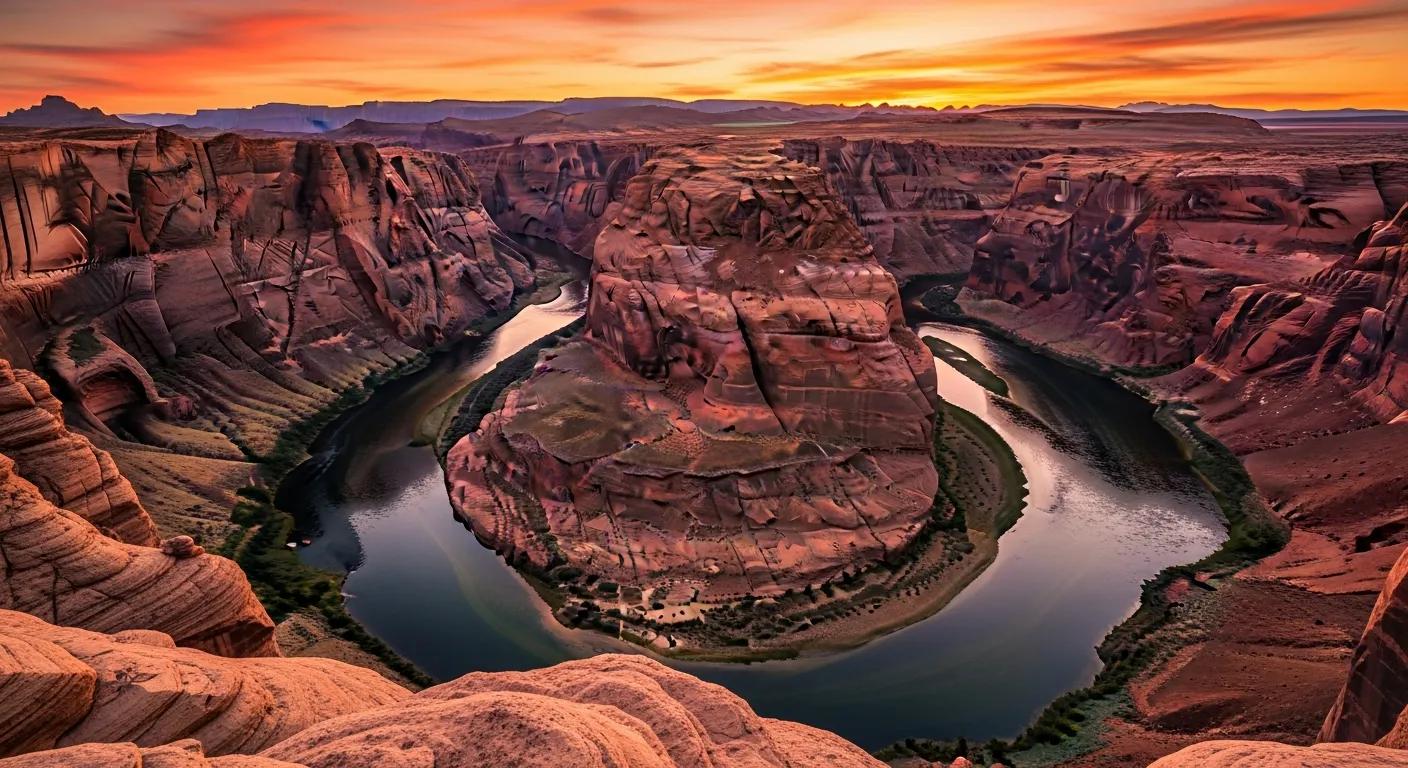
Back when I was still herding groups through overlooks for a living, I watched a client burn through an entire memory card at Mather Point in under ten minutes, convinced the next turnout couldn’t possibly top what she’d just seen — then get proven wrong six times over before lunch. That’s the trick of the South Rim: it keeps one-upping itself. Years later, once I’d finally stacked up fourteen months of savings toward a trip everyone in my life privately filed under “unnecessary,” I gave myself all of forty-five minutes to pick a destination before booking. There was no real contest. It had to be the Grand Canyon’s South Rim. Open all year and pulling in the overwhelming share of the park’s total visitors, this rim serves up the same impossibly vast views you’ve seen recycled across a thousand postcards and calendars — and somehow still leaves you doubting your own eyes once you’re standing at the edge. What follows is a rundown of every viewpoint and photo spot on the South Rim worth your time, so you walk away with images that actually match the scale of what you saw.
Why I Learned to Stop Trusting My Old Sneakers at the Grand Canyon
Footing along the South Rim is trickier than it looks — loose gravel shifts underfoot, ledges drop away without warning, and inclines that seem tame from a distance turn treacherous the moment a stone rolls under your boot. One afternoon hike left both ankles throbbing and my nerve rattled, and that was enough to convince me that ordinary street sneakers have zero business on these trails.
Where these boots pull their weight
- That ankle support genuinely stops the gut-lurch of a rock shifting under your foot — by day two I noticed I’d stopped bracing myself on every single downhill stretch.
- That grippy, aggressive tread bites into the canyon’s loose, dusty ground in a way flat-soled shoes just can’t manage, so you stop fighting for traction with every stride.
- They soften up quicker than expected, and that extra cushioning frees you up to actually take in the scenery rather than counting down the minutes until your feet quit complaining.
Where they fall short
- Compared to trail runners they’re bulky, and out in Arizona’s heat that extra weight becomes obvious by around mile three — the exact complaint ultralight hikers never stop grumbling about.
- The break-in window isn’t a myth — I learned that the hard way lacing up a fresh pair for a five-mile rim walk, then spending the next two days nursing heel blisters that turned even short strolls to viewpoints into an ordeal.
I almost talked myself out of replacing my sneakers—that stubborn voice that says “I’ve hiked a thousand times in these”—until I nearly twisted my ankle hard enough to end my trip early on the Bright Angel Trail. That’s when I grabbed proper hiking boots with ankle support and good traction.
Frequently Asked Questions
Is the Grand Canyon South Rim open year-round?
Yes, the South Rim is open all year. It pulls in the overwhelming share of the park’s total visitors and serves up the same impossibly vast views you’ve seen recycled across postcards and calendars, though somehow they still leave you doubting your own eyes once you’re standing at the edge.
What footwear should I wear hiking the South Rim?
Proper hiking boots with ankle support and good traction are essential. Footing along the South Rim is trickier than it looks—loose gravel shifts underfoot, ledges drop away without warning, and inclines that seem tame turn treacherous the moment a stone rolls under your boot. Ordinary street sneakers have zero business on these trails.
Why are hiking boots better than sneakers at the Grand Canyon?
Ankle support stops the gut-lurch of a rock shifting under your foot. Grippy, aggressive tread bites into the canyon’s loose, dusty ground in a way flat-soled shoes can’t manage, so you stop fighting for traction with every stride. Extra cushioning frees you up to actually take in the scenery rather than counting down minutes until your feet quit complaining.
What are the downsides of hiking boots in Arizona heat?
Compared to trail runners they’re bulky, and out in Arizona’s heat that extra weight becomes obvious by around mile three. The break-in window isn’t a myth—fresh boots can cause heel blisters that turn even short strolls to viewpoints into an ordeal.
About This Article

Written by Elena Vasquez. Elena Vasquez is a full-time traveler and the founder of Witty Passport. Over fifteen years and more than 50 countries across six continents — including a stretch spent leading groups professionally through Southeast Asia and the remote highlands of South America — she's written the kind of destination guides she always wished existed: practical, specific, and built on real experience rather than recycled itineraries. More about this site.
Scope and limits. Elena is a full-time traveler, not a licensed travel agent or immigration adviser. Entry requirements, visa rules, and advisories change without notice — always confirm against the official government source for your destination and passport before booking.
Verify this against a primary source
Specifics change, and your situation may differ from the one described here. These are the authorities worth checking directly:
- U.S. Department of State — entry requirements and travel advisories
- CDC Travelers' Health — vaccination and health notices by destination
- TSA — current carry-on and screening rules