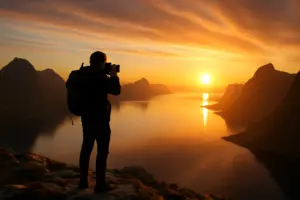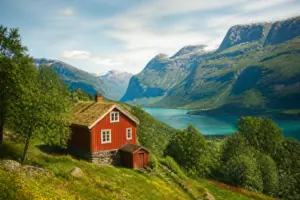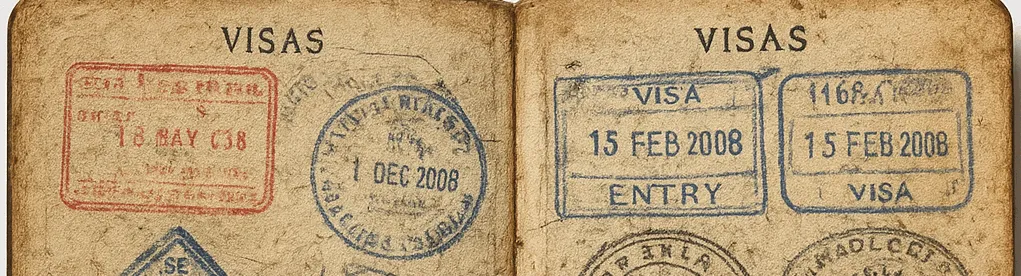
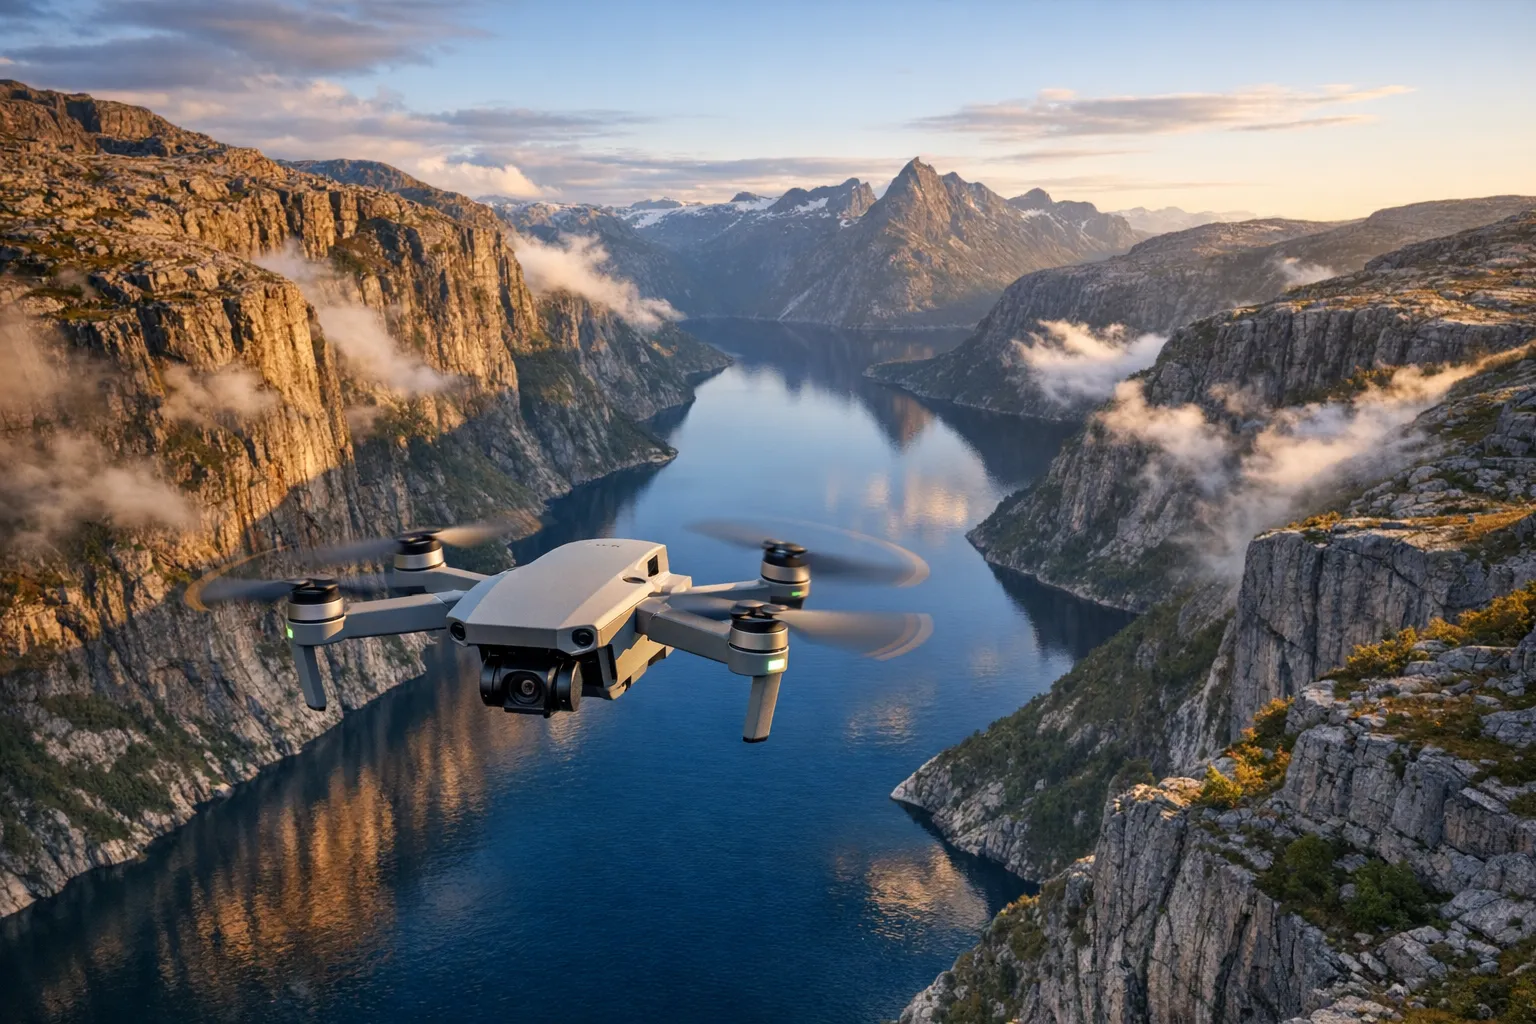
Standing on a gravel pull-off above Nærøyfjord, thumb hovering over the takeoff button, I finally understood why every Norway drone forum has a pinned post about legality before anyone gets to talk composition. Fourteen months of feeding a travel fund my friends called excessive got me to that pull-off — forty-five minutes of scrolling destinations was all it took to settle on Norway once I’d seen the fjords and jagged peaks slicing through low cloud, because honestly nowhere else got a second look after that. The drone went into the bag without much debate, shots already forming in my head, but flying over some of the planet’s most dramatic terrain turned out to be nothing like finding a clearing and hitting go. Norwegian airspace is tightly regulated, and the penalties for cutting corners are real. So before you follow me down this rabbit hole, here’s the full rundown on flying legally, safely, and — the part that actually matters — memorably.
The Essential Paperwork
Paperwork comes first, whether you like it or not. Travel Guide Norway operates under European Union Aviation Safety Agency (EASA) rules, which means nearly every pilot flying here needs to register. Got a camera bolted to your drone? You almost certainly fall under that requirement — and this catches even featherweight drones under 250 grams. Head to the Flydrone.no site to get it sorted, and budget for an annual registration fee while you’re there.
The Insurance Piece
On top of that, liability insurance isn’t optional — it’s required for every drone operator flying in Norway. Your everyday travel policy may not touch aviation liability at all, so dig into the fine print before you leave home. Carry proof of coverage on you whenever you fly; authorities can and do ask for it. Skip this step and you’re flying illegally, full stop, and any crash comes out of your own pocket.
Proving You Know What You’re Doing
Nearly everyone flying for fun lands in the “Open” category, which means an online theory exam stands between you and legal flight. It’s not hard, just thorough — it checks that you understand the basic safety framework. Pass it and you’ll get a pilot ID, which then has to be physically labeled on the drone itself, tying the aircraft back to you.
Staying Out of Airspace You Shouldn’t Enter
Making Sense of Norway’s Drone Rules
Norway hands you scenery built for aerial photography, no argument there. But the country backs that beauty with rigorous safety enforcement, so every pilot needs a real grasp of the specific regulations before ever getting airborne. That sky isn’t empty — emergency helicopters and low-flying aircraft share it with you, which makes situational awareness non-negotiable on every single flight. You’re not just protecting a few thousand dollars of gear up there; you’re protecting people.
Steering Clear of Airport Exclusion Zones
The 5-kilometer buffer around airports isn’t a suggestion — it’s absolute, and it covers both the big international hubs and the smallest regional airstrips alike. Don’t test it. Plenty of modern drones ship with geofencing, but treat that as a backup, not a plan; verify your position against official maps instead.
Cross into that airspace and you’re looking at a genuine criminal matter, not a slap on the wrist. Police can and will seize your drone on the spot, and steep fines are the norm rather than the exception. Sidestep the whole mess by downloading the Ninox Drone app or checking the Avinor site — both give you real-time airspace data before you ever launch.
Military Areas Are Not Worth the Photo
Norway guards its national security closely, so flying anywhere near military bases or training grounds is off the table entirely. These zones aren’t always marked with signage on the ground — but they’re plotted clearly on aviation charts, and “I didn’t see a sign” won’t get you anywhere with authorities.
Drift into a restricted military zone and the fallout can be severe — there have been tourists in recent years actually questioned on suspicion of espionage over exactly this. Treat every gray area with extra caution, and if you spot personnel or vehicles below you, bring the drone down right away.
National Parks and the Question of Privacy
Airports and military zones aren’t the only no-fly territory. A lot of National Parks ban drones outright to shield wildlife from the noise, which unsettles nesting birds and grazing animals alike. Add personal privacy to that list too — filming people without asking first isn’t acceptable here.
A Quick Safety Rundown:
- Pull up the map: Check safetofly.no before every single takeoff.
- Keep an ear out for rotors: Fjords see plenty of low-flying helicopter traffic.
- Never lose sight of it: Your drone should stay visible to your own eyes at all times.
- Coverage matters: Liability insurance isn’t optional for anyone flying here.
Where Parks Say No
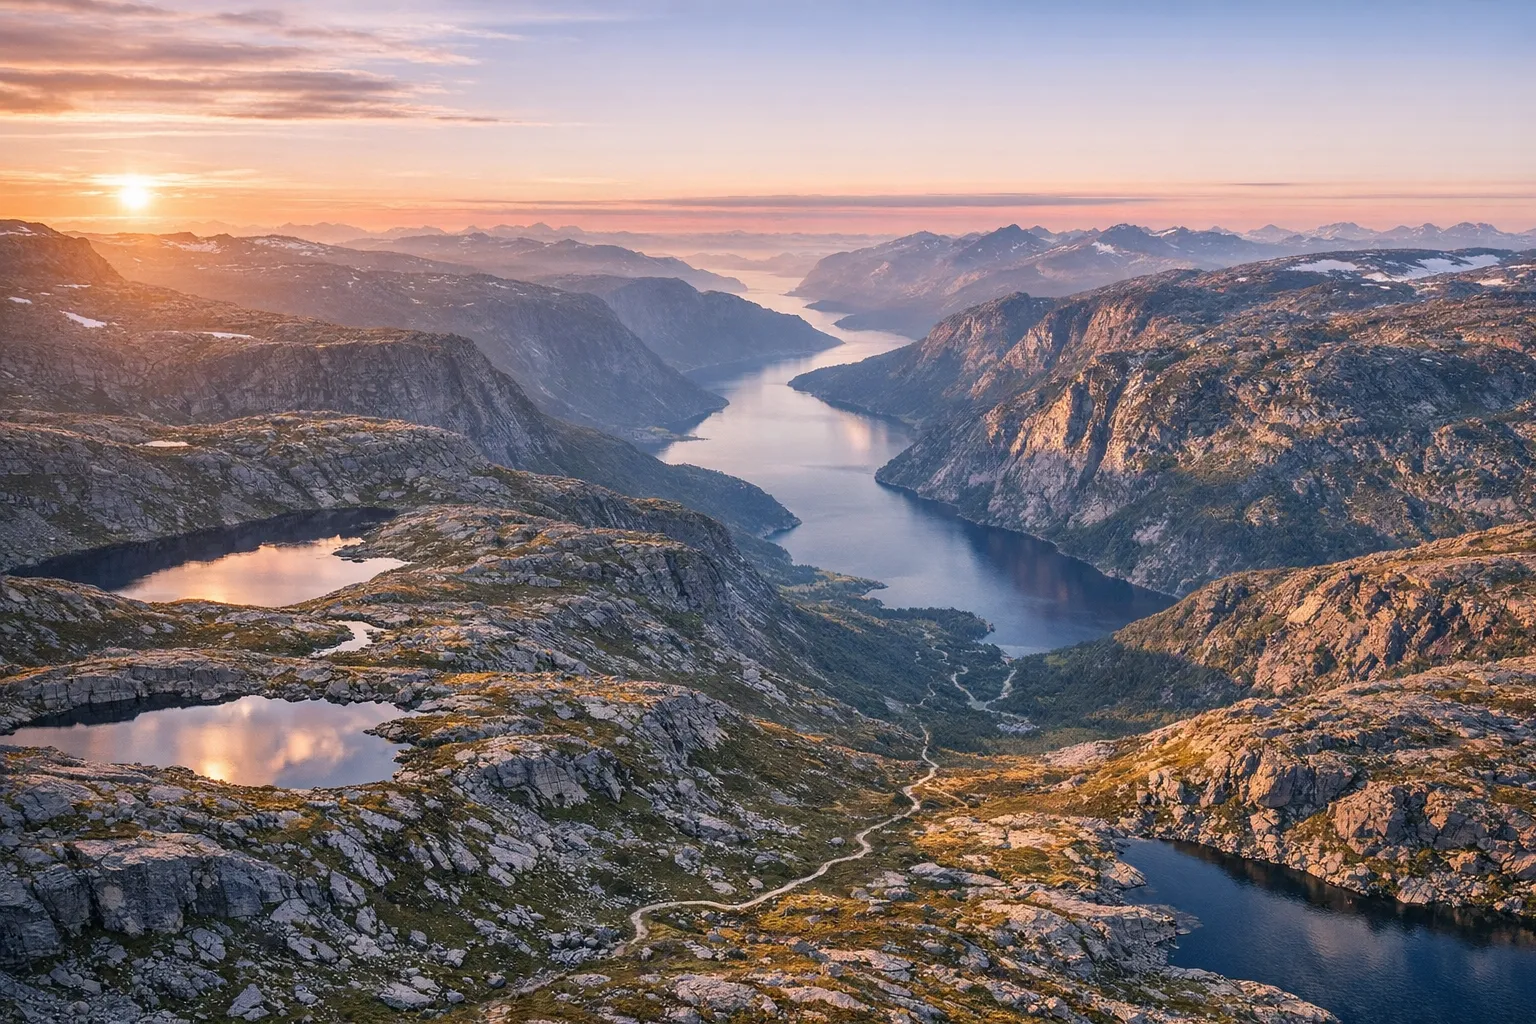
Conservation isn’t an afterthought here. Travel Guide A number of National Parks shut drones out entirely to protect fragile ecosystems — Hardangervidda National Park is one clear example where flying simply isn’t allowed. These bans exist to preserve natural quiet. Pull up a detailed map before every flight; apps like “Norge i 3D” or Safetofly.no lay out restricted zones clearly, and not knowing where the boundary sits won’t excuse crossing it.
Sharing the Sky with People
Privacy runs deep in Norwegian culture, so flying with other people around means flying with real restraint. Don’t hover over anyone, and steer well clear of filming private homes or cabins. People come out here specifically for quiet, and a buzzing drone overhead can wreck that in seconds.
Where GDPR Comes In
On top of that, GDPR — the General Data Protection Regulation — applies here too. If faces are identifiable in your footage, strict privacy law kicks in immediately. Keep enough distance that individuals blur into the scenery rather than becoming recognizable subjects. If someone flags you down and asks you to stop, land — don’t argue. A little courtesy heads off conflict every time, and other people’s comfort should always outrank your footage.
Looking Out for Norway’s Wildlife
Why the Wildlife Here Is More Fragile Than It Looks
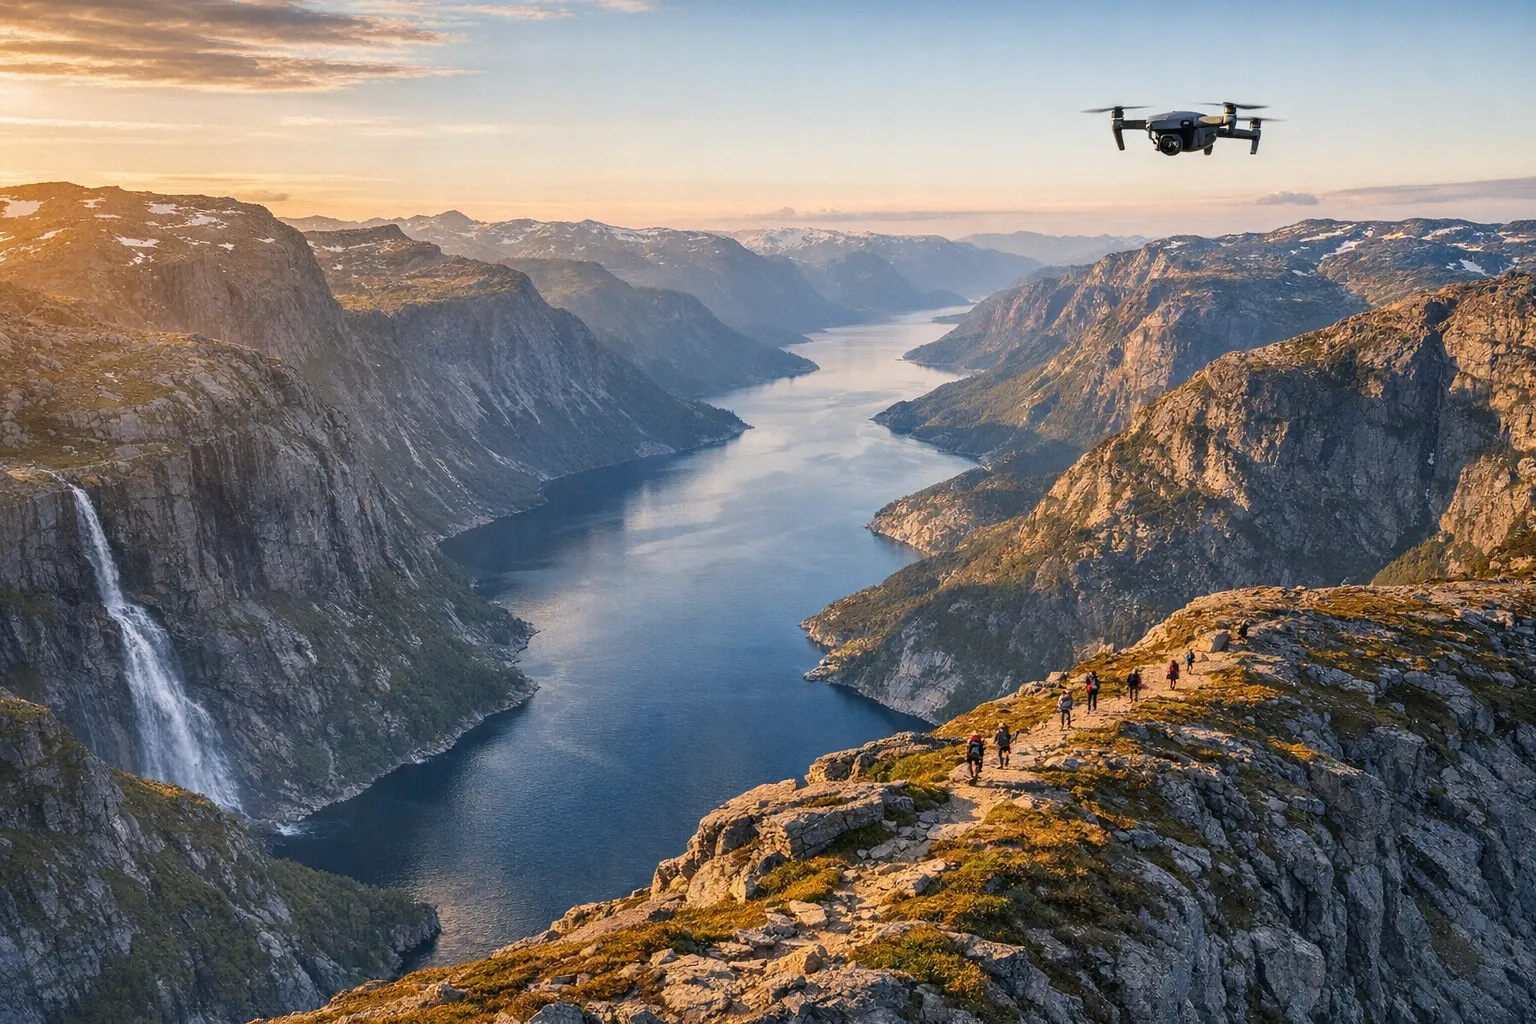
Norway’s wild terrain looks indestructible from above. But the animals living in it are running much closer to the edge than the scenery suggests. Plenty of species survive on a genuinely thin margin, so even a small disturbance can turn fatal. Take this example: bolting from a drone burns through energy reserves an animal may not be able to spare, especially through a brutal winter. Which is exactly why pilots need to fly with real caution here.
Reindeer herds react hard to buzzing noise — one drone can send hundreds of animals into a panic within seconds. That panic isn’t harmless: pregnant females can miscarry from the stress alone. Marine animals deserve the same care — whales and seals frequently rest right at the surface, and unfortunately a low-flying drone can throw off their natural behavior entirely. So keep your altitude generous and respectful.
When Predators Fight Back
Raptors create a problem most pilots don’t see coming. Norway has a substantial population of White-tailed Eagles, and to a bird like that, your drone reads as a territorial rival. The result can be an aggressive mid-air strike — bad news for the eagle and fatal for your equipment. On top of that, nesting season means giving these areas a wide berth entirely.
Learn to spot the warning signs. Circling or vocalizing usually comes before an actual attack. Catch that behavior and land the drone immediately. Also, avoid cliffs entirely during spring and early summer — they’re usually hosting delicate seabird colonies, and disturbing them can knock eggs right off the ledge. So give cliff faces plenty of room.
Flying With Some Ethics Attached
Responsible filming keeps the landscape as untouched as you found it. In practice, flying with restraint usually produces better shots anyway. Here’s the short version:
- Lean on your zoom: Get the close-up without physically closing the distance.
- Watch how they’re acting: The second an animal shifts its behavior because of you, you’re too close.
- Check the map first: Protected reserves need to be identified before takeoff, not after.
- Go quiet when you can: Low-noise propellers make a real difference whenever you have the option.
At the end of the day, no shot is worth the harm. Norway’s beauty exists because of the animals living in it, and flying responsibly is how that stays intact. Bottom line: be a guest out there, not a nuisance.
Herds and Grazing Animals
How Reindeer Actually Perceive a Drone
Reindeer run on instinct and constant vigilance — that’s how they survive out there. Unfortunately, a drone trips their flight response almost the instant it appears overhead, because to a reindeer, that high-pitched whine sounds uncomfortably close to parasitic botflies, one of the biggest stressors these herds deal with naturally. So even a modest, harmless-looking drone can set off widespread panic.
That panic comes with real physical cost. A fleeing herd burns through energy reserves it may not have to spare, which is especially risky during winter or calving season, and calves can easily get separated from their mothers in the scramble. When a herd scatters, Sami herders are left with days of work rounding the animals back up — so disrupting them isn’t just careless, it’s disrespectful to people’s actual livelihoods.
What This Means for Sheep and Farmers
Sheep farming matters just as much to Norwegian rural life. Through the summer, thousands of sheep graze loose across the mountains, and they’ve had zero exposure to anything like a hovering drone. Their instinct reads it as an eagle attack, so they bolt blindly to get away from the noise — and on Norway’s steep, rocky slopes, that’s genuinely dangerous.
Panicked sheep get hurt often — falls off cliffs, broken legs, the works. Unsurprisingly, farmers have little patience for careless pilots, and disturbing livestock can bring fines or legal consequences your way. It also tarnishes the reputation of every drone pilot who comes after you. Scan the terrain before you launch, and if you spot white dots scattered across the hillside, keep the drone grounded.
Core Flight Guidelines Around Animals
Filming in Norway means holding yourself to a stricter ethical standard. Animal welfare beats a good Instagram frame every time. Keep these rules in mind:
- Zoom instead of approaching: Let the camera close the distance, not the drone.
- Read their body language: Heads turning toward your drone is your signal to back off.
- Cut it short: Any sign of agitation means landing right away, no exceptions.
- Scan before liftoff: Take a real look around before you ever hit takeoff.
And never fly straight over a herd chasing a dramatic top-down angle — the noise carries far wider than you’d guess. Keep a generous buffer at all times instead, and if you stumble on wildlife unexpectedly, turn around and fly the other way immediately. Respecting the wildlife here is ultimately what keeps Norway’s landscapes worth flying over.
Fighting the Weather
Norwegian weather doesn’t hold a mood for long. It can flip from clear sky to storm within an afternoon, so build in room for sudden shifts rather than assuming the forecast will hold.
What Cold Does to Your Batteries
Keeping Batteries Alive in the Freeze
Cold is arguably the biggest obstacle drone pilots face in Norway. Lithium polymer batteries lose chemical efficiency fast once temperatures drop below freezing — you can genuinely see flight time cut by half in sub-zero conditions, and that power loss blindsides pilots who haven’t dealt with it before.
Below roughly 15°C (59°F), the internal chemistry slows down noticeably and internal resistance climbs, meaning the battery simply can’t push power the way it does in warmer conditions. Voltage sags faster mid-flight too. So a battery good for 25 minutes at home might only give you 12 to 15 minutes out in Norwegian winter air.
Warming Batteries Before You Fly
Always warm your batteries before takeoff. Tuck them inside a jacket or coat pocket against your body heat, or wrap chemical hand warmers around the storage case — a simple trick that holds battery temperature where it needs to be. Some pilots go further and pick up dedicated battery warming pouches or heated cases.
Never slot a cold battery straight into the drone. Give it 15 to 20 minutes of warming first. You’re aiming for 20-40°C (68-104°F), so a quick touch-test before installation — it should feel genuinely warm in your hand, not just room temperature.
Watching the Numbers Mid-Flight
Voltage tracking becomes essential once the cold sets in. Don’t lean on the battery percentage alone — check the actual voltage readout in your controller app instead. Once individual cells slip below 3.5 volts, land right away; in freezing conditions that threshold arrives much sooner than you’d expect.
Push your return-to-home trigger higher than usual. If 30% is your normal cutoff, bump that to 50% in winter conditions. Turn on low-voltage alerts earlier too — most apps let you customize the threshold, so use that setting to protect your gear rather than push your luck.
Having a Backup Plan for Landing
Scout your landing zone before you ever take off, and have more than one safe spot in mind nearby in case a battery fails without warning. Flying beyond visual line of sight in the cold simply isn’t worth the risk, no matter how good the shot looks.
Dealing with Wind
The fjords generate serious wind thanks to the surrounding geography, which acts like a funnel. A valley floor that feels perfectly calm can be hiding brutal gusts just a hundred feet up, so check wind speed at multiple altitudes rather than trusting ground-level conditions. Don’t push your drone past what it’s rated for — a drone lost in a fjord is almost always gone for good, swallowed by deep, cold water with no retrieval in sight.
Getting the Best Shots
Working With Norway’s Unusual Light
Sitting inside the Arctic Circle gives Norway lighting conditions most photographers never encounter elsewhere, and it changes how you shoot from the drone entirely. From roughly May through July, the sun in the northern regions barely dips below the horizon, handing you close to 24 hours of usable light. This is the Midnight Sun, and it wraps the landscape in warm, golden tones for hour after hour — meaning you can shoot continuously without ever racing the clock on daylight.
Those stretched-out golden hours open up options you don’t get anywhere else. You can revisit the same fjord across several hours and still catch soft, flattering light each time. The low sun angle also throws long shadows that add real depth to aerial compositions — which is exactly why summer becomes the prime window for Norway’s coastlines and mountain ranges.
Winter Light: Harder to Work With, Still Worth It
Winter flips the script entirely and demands more planning. Between November and January, northern Norway sits in polar night, with barely any daylight to speak of. But that scarcity produces gorgeous blue hours that stretch on for what feels like ages, and twilight paints the sky in pastel tones that make for genuinely atmospheric drone footage.
Expect only 3 to 6 hours of usable daylight in a lot of regions during winter, so plan your flights tightly around midday for the best brightness. The low winter sun throws dramatic side-lighting across snowy terrain, meaning even a narrow shooting window can produce striking images.
Planning Around the Seasons
Bottom line: shooting drone footage in Norway well takes real seasonal awareness and a willingness to adapt. ND filters help you manage exposure through those endless summer days, while winter shoots often call for higher ISO and wider apertures to compensate for the lack of light.
Getting ND Filters Right
How Norway’s Terrain Bounces Light Back at You
Norway’s untouched scenery throws a curveball at drone videographers. Snowfields stretch across entire plateaus, and fjords and lakes are scattered everywhere across the landscape — all of it acting like a mirror, throwing sunlight straight back into your camera sensor with real intensity.
Overexposure is the enemy in these conditions. Reflected light overwhelms your sensor’s ability to hold detail, so cloud texture and snow texture both vanish. Your footage ends up flat and washed out, and the dramatic contrast that makes Norway worth filming disappears with it.
Why You Shouldn’t Skip ND Filters
Neutral Density filters fix this cleanly. Think of them as sunglasses precisely calibrated for your drone’s sensor — though they do more than just cut brightness. They let you hold onto the shutter speed settings you actually want.
Cinematographers stick to the 180-degree shutter rule for a reason: shutter speed should sit at roughly double your frame rate. Shooting at 24fps means aiming for a 1/48 second shutter; at 30fps, that’s 1/60 second. Skip the ND filter and Norway’s brightness will force faster shutter speeds on you regardless, and your motion loses that smooth, natural quality as a result.
How This Affects the Way Motion Reads
Getting the shutter speed right produces natural motion blur between frames, which is basically how our eyes already perceive movement — it’s what gives footage that smooth, cinematic feel. Push the shutter speed too fast, though, and each frame turns razor sharp, which makes movement look jittery and stuttered instead.
This shows up hardest during panning shots — tracking along a fjord wall or across a glacier makes the problem obvious immediately. Without proper ND filtering, that stunning Norwegian scenery can end up looking like a video game rather than a film, which is exactly the amateur look professional productions avoid.
Framing the Shot
Hunt for contrast wherever you find it. Travel Guide Blue water set against grey rock reads beautifully on camera. Lean on the rule of thirds when framing peaks, and try top-down angles over ice patterns — those overhead perspectives reveal textures you’d never spot from ground level.
Thinking Seasonally
Flying Through the Deep Freeze
Winter reshapes Norway completely, handing pilots a stark, frozen landscape that’s stunning on camera and demanding on the controls. The Northern Lights (Aurora Borealis) make an incredible aerial subject, but pulling off a clean shot takes real skill — you need to understand long-exposure settings to get anything usable in that low light.
Extreme cold also threatens your hardware directly. Lithium batteries bleed charge fast in freezing air, so keep spares warm against your body until the moment you need them. Plastic propellers turn brittle in sub-zero temperatures too, so inspect every part of your gear before takeoff to avoid a mid-air failure.
Flying Through Endless Summer Light
Summer, on the other hand, hands you an entirely different flying experience. The Midnight Sun gives close to 24 hours of daylight, so time stops being the limiting factor for exploring and filming. Golden hour can stretch across several hours straight, producing near-perfect light for most of your session.
Snowmelt reveals vivid green fjords and blue lakes too, opening up high-contrast imagery you simply can’t get in winter. The tradeoff is bigger crowds at popular sites, so fly early or late in the day to avoid buzzing tourists. Keep wildlife in mind as well — a lot of birds are nesting during this stretch, so distance still matters.
Gear Worth Packing by Season
Norway’s shifting climate means your kit needs to shift with it. What’s in your bag should really depend on which season you’re flying in.
Here’s what to adjust:
- ND Filters: Summer light is intense, so pack strong ND filters (ND16 or ND32) to hold onto cinematic shutter speeds.
- Battery Warmers: Non-negotiable for winter flying — they keep your power source dependable when it matters most.
- Landing Pads: Snow and tall summer grass will chew up gimbal motors, so a portable landing pad earns its space in the bag.
- Touchscreen Gloves: Hands go numb fast in winter, so specialized gloves let you run the app without exposing bare skin.
And check the weather forecast right before takeoff, every time — conditions here shift fast no matter what season you’re flying in.
Flying in the Summer Crowds
Summer draws a crowd, and popular spots like Trolltunga get packed fast. Flying over that many people isn’t safe or legal, so set an early alarm instead — 5 AM flights beat the crowds and catch better light while everyone’s still asleep, keeping you well within the crowd regulations too.
Flying in the Winter Cold
Keeping Your Hands Working in the Cold
Winter turns Norway into a genuinely pristine setting for drone work, but extreme cold creates real problems for pilots. Your hands are your entire control interface, and once temperatures drop below freezing, fine motor control disappears fast. Numb fingers can’t execute precise stick movements, and that loss of control opens the door to dangerous flight errors.
Touchscreen-compatible gloves are essential winter equipment. They come with conductive fingertips that respond to phone screens and controller interfaces, giving you insulation without sacrificing tactile feel. Look for gloves rated for sub-zero temperatures with reinforced fingertips, and keep hand warmers in your pockets between flights too. Your ability to fly safely comes down almost entirely to keeping your fingers functional.
The Icing Problem Most Pilots Miss
Winter flying carries a hazard a lot of pilots never think about. Propeller icing happens when airborne moisture freezes onto spinning blades, and in Norway’s humid coastal regions, it builds surprisingly fast. Ice throws off the aerodynamic shape of each propeller, and the extra weight it adds throws the whole rotor system out of balance.
The distorted blade shape also cuts lift capacity hard, so your drone starts struggling to hold altitude. Meanwhile the flight controller compensates by spinning the motors faster, which drains the battery quickly. Even a few millimeters of ice buildup can be enough to trigger a genuine failure.
Spotting Ice Before It Becomes a Crash
Keep an eye on the drone throughout the flight, not just at launch. Odd tilting or trouble holding a hover usually points to icing. Check the propellers visually and often — ice shows up as a white or translucent buildup along the blade edges.
Land the moment you spot any ice. Don’t push the flight further, and avoid sharp maneuvers that could destabilize the aircraft even more. Bring it down slowly and steadily. Act fast enough and you’ll dodge a costly crash — and the headache of losing gear somewhere remote in Norway’s back country.
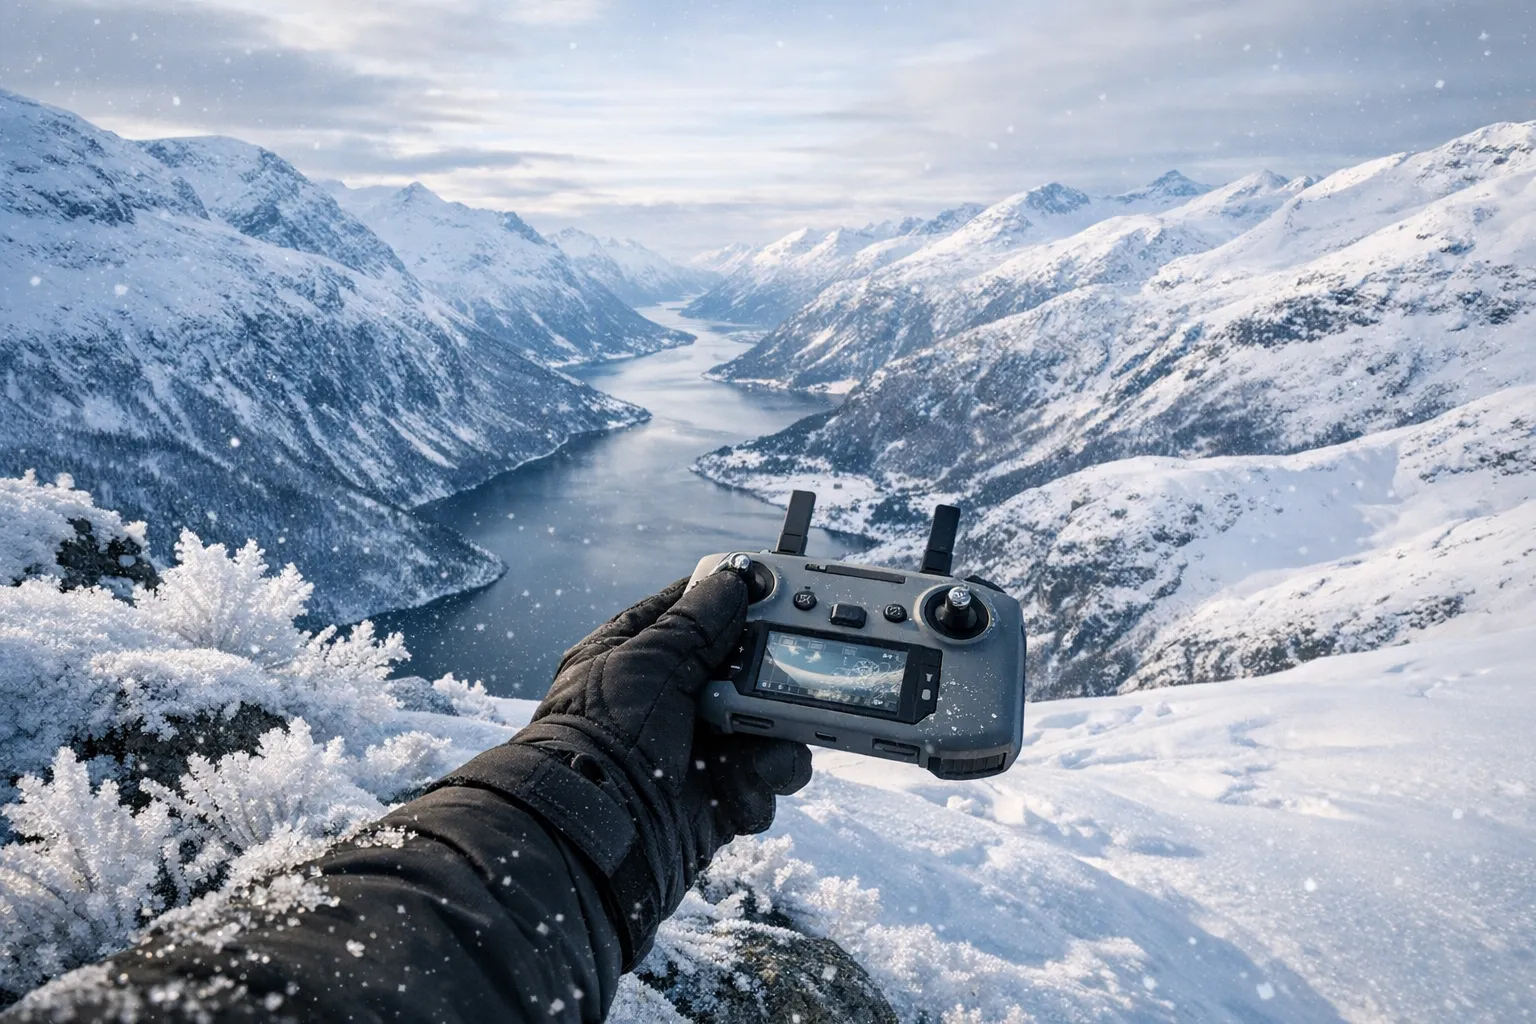
Wrapping It Up
Norway is about as good as it gets for drone photography, but it asks for respect in return. Stick to the rules — register the drone, get insured, respect people’s privacy and the wildlife around you. Do that, and these landscapes stay open for the next pilot too. Now go fly, and bring back something worth the trip.
The Stabilization That Kept My Fjord Footage from Looking Like a Shaky Home Video
Norwegian wind is no joke — especially when you’re hovering a drone over a 3,000-foot drop trying to nail the exact shot that justified fourteen months of scraping money together. Skip serious stabilization and you’ll end up with footage that shakes like it was filmed during a small earthquake, nothing like the calm scene you were actually looking at through the viewfinder.
What actually works
- Footage stays smooth even when gusts are genuinely shoving the drone sideways — I was shooting near Preikestolen when the wind kicked up hard, and the gimbal just soaked it up like nothing had happened.
- The responsiveness lets you pan and tilt with real intent, without that nauseating lag or drift that can wreck an otherwise perfect moment.
- Battery drain is more forgiving than you’d expect from something this capable, which matters a lot when you’re hiking to a remote spot with no option to just head home and recharge.
Where it falls short
- There’s a genuine learning curve — I spent my first two days over-correcting constantly because the stabilization responds more sharply than I was used to.
- It weighs more than the budget options out there, which you’ll notice in your backpack on long hikes to a viewpoint, and it eats up more room in a carry-on than you’d probably like.
I almost talked myself out of upgrading before the trip—the cost felt unnecessary—but three minutes of comparing my test footage to my friend’s shaky drone video made it an obvious choice. Grab a camera with excellent stabilization if you’re serious about Norway.
Frequently Asked Questions
Do I need to register my drone to fly in Norway?
Yes. Nearly every drone pilot flying in Norway needs to register under European Union Aviation Safety Agency (EASA) rules, even if your drone is under 250 grams. Head to the Flydrone.no site to register and budget for an annual registration fee.
Is drone liability insurance required in Norway?
Liability insurance is required for every drone operator flying in Norway and is not optional. Check your travel policy’s fine print before leaving home, as everyday coverage may not include aviation liability. Carry proof of coverage whenever you fly.
How far away from airports must I keep my drone?
You must maintain a 5-kilometer buffer around all airports, including both international hubs and the smallest regional airstrips. This is absolute, not a suggestion. Cross into that airspace and police can seize your drone and issue steep fines.
What should I do if I spot reindeer herds while flying?
Keep your drone grounded. A drone overhead can send hundreds of reindeer into panic within seconds, burning through energy reserves they may not spare. Pregnant females can miscarry from the stress alone, and disrupting herds disrespects Sami herders’ livelihoods.
About This Article

Written by Elena Vasquez. Elena Vasquez is a full-time traveler and the founder of Witty Passport. Over fifteen years and more than 50 countries across six continents — including a stretch spent leading groups professionally through Southeast Asia and the remote highlands of South America — she's written the kind of destination guides she always wished existed: practical, specific, and built on real experience rather than recycled itineraries. More about this site.
Scope and limits. Elena is a full-time traveler, not a licensed travel agent or immigration adviser. Entry requirements, visa rules, and advisories change without notice — always confirm against the official government source for your destination and passport before booking.
Verify this against a primary source
Specifics change, and your situation may differ from the one described here. These are the authorities worth checking directly:
- U.S. Department of State — entry requirements and travel advisories
- CDC Travelers' Health — vaccination and health notices by destination
- TSA — current carry-on and screening rules