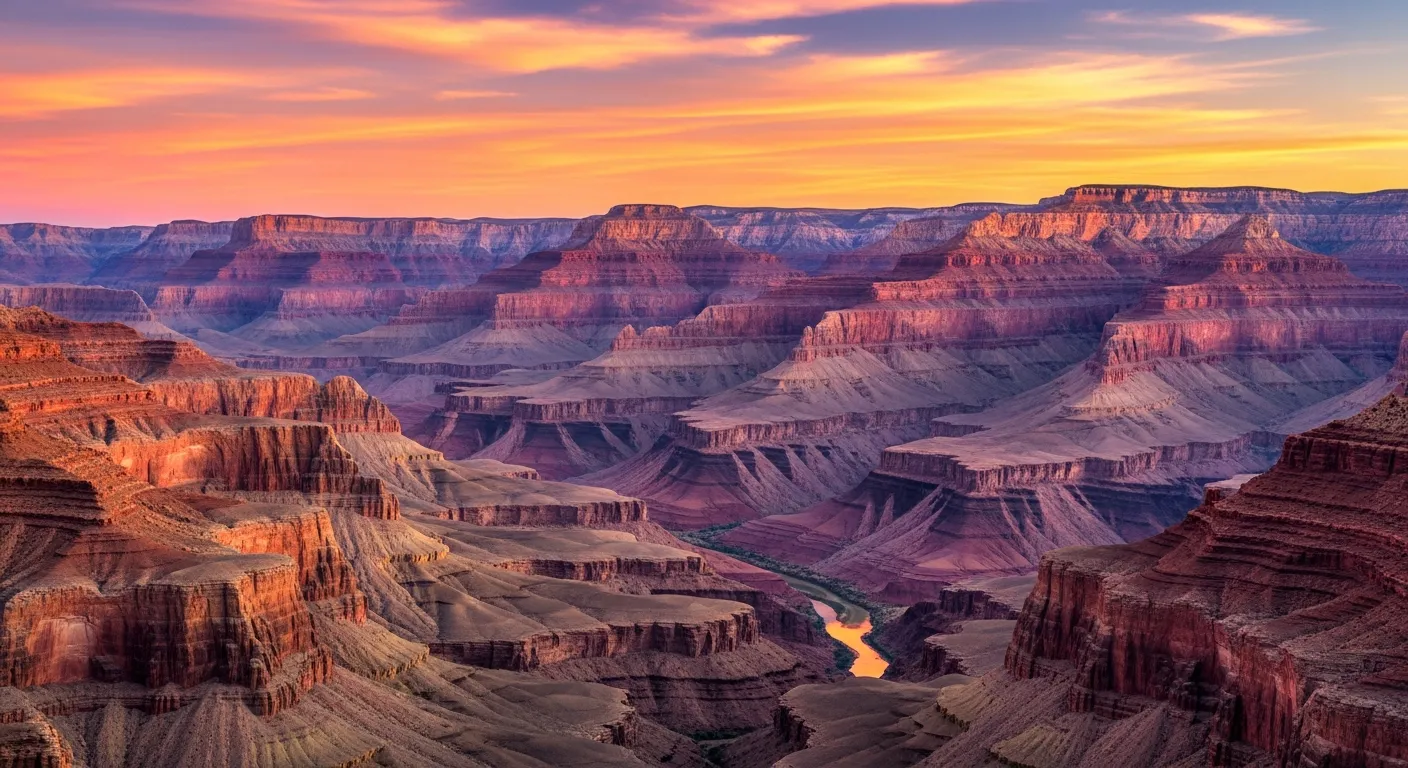
Diesel exhaust from the idling shuttle buses mixes with pine dust and sunscreen at the Bright Angel trailhead, and even at nine in the morning there’s already a line of families three deep waiting for a photo with the mules. My father spent thirty-eight years telling anyone who’d listen that he’d finally travel once he retired. He retired, and then somehow there was always a reason it wasn’t the right year. Watching that happen made me promise myself I wouldn’t do the same thing — which is the whole reason I finally bought that ticket to Arizona and ended up standing at the edge of the South Rim with my pulse in my ears, completely unready for how enormous the thing actually is. If you’re a first-timer done postponing this and ready to actually go, here’s everything I learned the hard way, so your trip runs smoothly, safely, and lives up to the hype in your head.
Planning Your Arrival and First Days
Before you even think about boots, sort out the logistics. Most people arriving for the first time land in Phoenix and drive north from there — plan on roughly three and a half hours to reach the South Rim, so build that into your schedule. Don’t repeat my near-mistake of rolling in late afternoon and trying to catch sunset before your body’s adjusted to the elevation. The South Rim sits at 7,000 feet, and diving straight into canyon exploration without any acclimation will leave you winded and drained faster than you’d expect.
My first evening there, I did nothing more ambitious than stroll the rim, eat dinner at one of the lodges, and turn in early. That gave my body a chance to catch up, and I hit day two with actual energy instead of running on fumes. The canyon has been sitting there for millions of years and isn’t going anywhere — treat your first trip like a few unhurried days rather than a single frantic sprint. And book your room well ahead of time; South Rim lodging fills up months in advance, particularly during the busy stretches from March through May and September through October.
How the Right Boots Saved My Ankles on Bright Angel Trail
Standing on the rim, the trails look almost gentle. Start descending, though, and the terrain shows its real character fast — loose scree, sheer drop-offs, and rocky switchbacks ready to twist an ankle if your footwear isn’t up to the job. I found this out the hard way roughly a mile down Bright Angel Trail.
Where they earned their keep
- Solid ankle support stopped that sickening roll-and-twist that happens the second your foot catches a rock mid-stride — and on this terrain, it happens constantly.
- The tread bit into loose scree and packed dirt in spots where regular sneakers would’ve slid straight out from under me, which matters a lot on the steep downhill stretches where a slip isn’t a minor thing.
- They broke in surprisingly quickly — by the second day of hiking, they felt like proper boots instead of grinding away at my heels.
Where they fell short
- They’re heavier than they look, and somewhere around mile four your legs start keeping count of every extra ounce — that’s especially true on the punishing hike back up.
- The waterproofing barely matters once you hit Pipe Creek — your feet are getting wet no matter what, and once the boots are soaked through, they take forever to dry out.
I almost turned back halfway through day one because my feet ached and I was convinced I’d made a mistake with the boot choice, but it turns out my feet just needed adjustment—the support kept me safe on terrain where weak ankles would have ended the trip early. If you’re serious about exploring beyond the rim, grab these hiking boots with ankle support and traction.
Gear You Actually Need in Your Pack
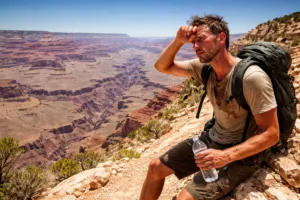
Boots aside, nearly everyone underestimates how much water this place demands. There’s almost no shade anywhere in the canyon, and dehydration creeps up on you even when the temperature seems mild. I brought two liters on my first descent and ran dry with a mile still to go. These days I know three to four liters is the bare minimum for a half-day rim-to-river outing, and packing more never hurts. Electrolyte packets are worth throwing in too — plain water gets hard to stomach once you’re tired and parched.
Sunscreen and a wide-brimmed hat aren’t optional here. Sunlight bounces off the red rock in a way that flatlander sun just doesn’t, so you’ll burn faster than you’d guess, even under a hazy sky. By day two of one trip, I’d already spotted several hikers with painful sunburns. Pack a lightweight rain shell too — thunderstorms can roll in fast during the afternoon, especially between July and September.
Knowing the Trail Difficulty and Where Your Limit Is
Bright Angel Trail draws most first-timers, and it earns that reputation — it’s well maintained and has water stations along the way. But popular isn’t the same as easy. Plenty of hikers stop at the 1.5-mile or 3-mile mark and call it done, and that’s a completely reasonable choice. Going farther — halfway to the river for a 9.3-mile round trip, or all the way down — takes real preparation, an early start, and an honest read on your own condition.
Climbing out is where the elevation really punishes you — a descent that took three hours can easily take five or six coming back up. I’ve watched hikers in their sixties and seventies reach the river and return safely, but they were on the trail by 5 a.m., stopping often, and moving at a careful, steady pace. Be realistic about your own fitness, and don’t let anyone’s Instagram post or trail chatter talk you into a turnaround point that leaves you stumbling out after dark.
Rim Overlooks Worth Building Your Day Around
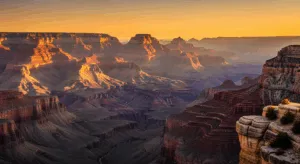
If descending into the canyon isn’t for you, or you need a break between hiking days, the South Rim has plenty of jaw-dropping overlooks reachable by car or a short stroll. Mather Point, Grand View Trail, and Desert View Drive each frame the canyon’s scale in their own way. Catching sunrise or sunset at any of these spots takes some patience — get there early to claim a decent vantage point — but watching the light shift and repaint the canyon walls makes the wait entirely worthwhile.
Frequently Asked Questions
How long does it take to drive to Grand Canyon South Rim from Phoenix?
Plan on roughly three and a half hours to drive north from Phoenix to reach the South Rim. Build that travel time into your schedule, and avoid arriving late in the afternoon before your body has adjusted to the elevation.
What elevation is Grand Canyon South Rim and why does it matter?
The South Rim sits at 7,000 feet elevation. Diving straight into canyon exploration without acclimation will leave you winded and drained faster than expected, so spend your first evening taking it easy and adjusting before tackling serious hiking.
How much water should I bring hiking in the Grand Canyon?
Three to four liters is the bare minimum for a half-day rim-to-river outing. There’s almost no shade in the canyon, dehydration creeps up quickly even when temperatures seem mild, and packing more water never hurts.
When is the busiest season at Grand Canyon South Rim lodging?
South Rim lodging fills up months in advance, particularly during busy stretches from March through May and September through October. Book your room well ahead of time to secure accommodation.
About This Article

Written by Elena Vasquez. Elena Vasquez is a full-time traveler and the founder of Witty Passport. Over fifteen years and more than 50 countries across six continents — including a stretch spent leading groups professionally through Southeast Asia and the remote highlands of South America — she's written the kind of destination guides she always wished existed: practical, specific, and built on real experience rather than recycled itineraries. More about this site.
Scope and limits. Elena is a full-time traveler, not a licensed travel agent or immigration adviser. Entry requirements, visa rules, and advisories change without notice — always confirm against the official government source for your destination and passport before booking.
Verify this against a primary source
Specifics change, and your situation may differ from the one described here. These are the authorities worth checking directly:
- U.S. Department of State — entry requirements and travel advisories
- CDC Travelers' Health — vaccination and health notices by destination
- TSA — current carry-on and screening rules